Maximizing Your Investment: How to Make the Most of Your Design Consultation
Walking into a showroom without a clear plan can feel overwhelming when faced with endless style options and layout possibilities. Homeowners in the Durham Region often struggle to articulate their exact needs, leading to wasted time and unclear estimates. At Rocpal Custom Cabinets Ltd, we want your initial meeting to be highly productive and inspiring. Preparing thoroughly for expert design consultations ensures our team can translate your ideas into a perfectly tailored reality.
A successful planning phase requires clear communication regarding your daily habits and financial boundaries. Arriving with the right information allows your designer to skip the guesswork and focus entirely on optimizing your specific floor plan. We have outlined the best ways to prepare for your upcoming showroom visit. Following these straightforward steps guarantees a collaborative and efficient planning experience.
What We Will Discuss:
- Tip 1: Gather Accurate Space Dimensions
- Tip 2: Curate Your Inspiration Photos
- Tip 3: Establish a Realistic Target Budget
- Tip 4: Communicate Your Lifestyle Needs
- Frequently Asked Questions
- Finalizing Your Design Journey
Tip 1: Gather Accurate Space Dimensions
Bringing rough measurements of your current room allows our design team to immediately understand the scale of your project. We do not need perfectly engineered blueprints at this stage, but knowing the basic length and width of your walls is crucial.
- Measure from corner to corner: Record the overall length of each wall to establish the available footprint for new storage.
- Note the windows and doors: Mark the locations of all openings to help the designer calculate exact walking clearances.
Tip 2: Curate Your Inspiration Photos
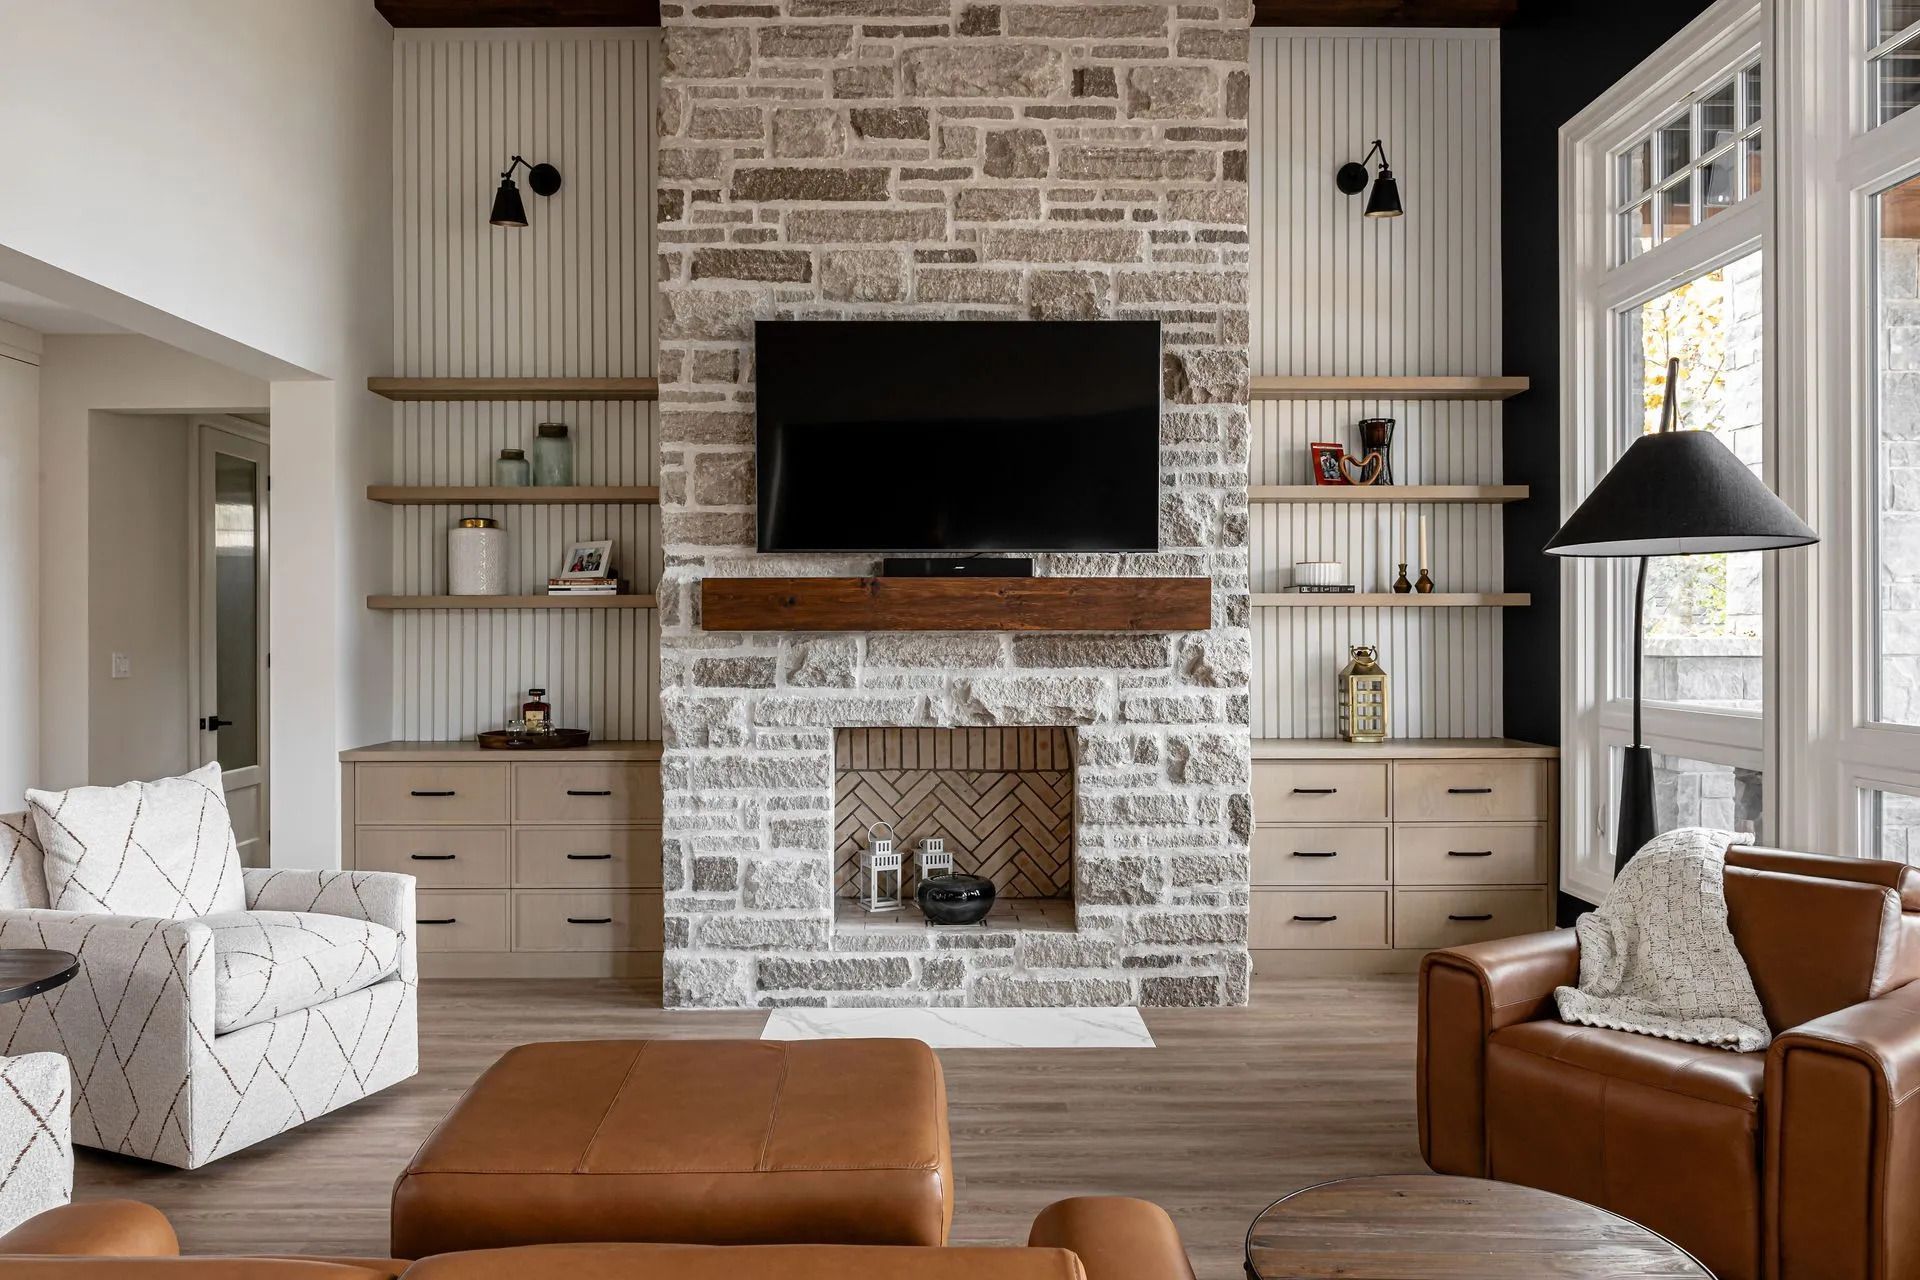
Visual aids communicate your aesthetic preferences much faster than words alone. Collecting images of kitchens or bathrooms that catch your eye helps the designer pinpoint your specific taste.
- Create a digital board: Save photos of hardware, wood stains, and door profiles to a folder on your phone for quick reference.
- Highlight what you dislike: Pointing out specific features you want to avoid is just as helpful for narrowing down the perfect style.
Tip 3: Establish a Realistic Target Budget
Discussing your financial comfort zone openly allows the team to source materials that align perfectly with your goals. Avoiding the budget conversation often leads to designs that are beautiful but impractical to build.
- Share your spending range: Providing a clear financial target helps the designer focus on the best value materials for your custom built-ins.
- Prioritize your splurges: Decide whether you want to allocate more of your budget toward luxury countertops or highly specialized storage inserts.
Guiding homeowners through complex decisions requires patience and clear communication. This is a pattern the team at Rocpal Custom Cabinets Ltd hears regularly.
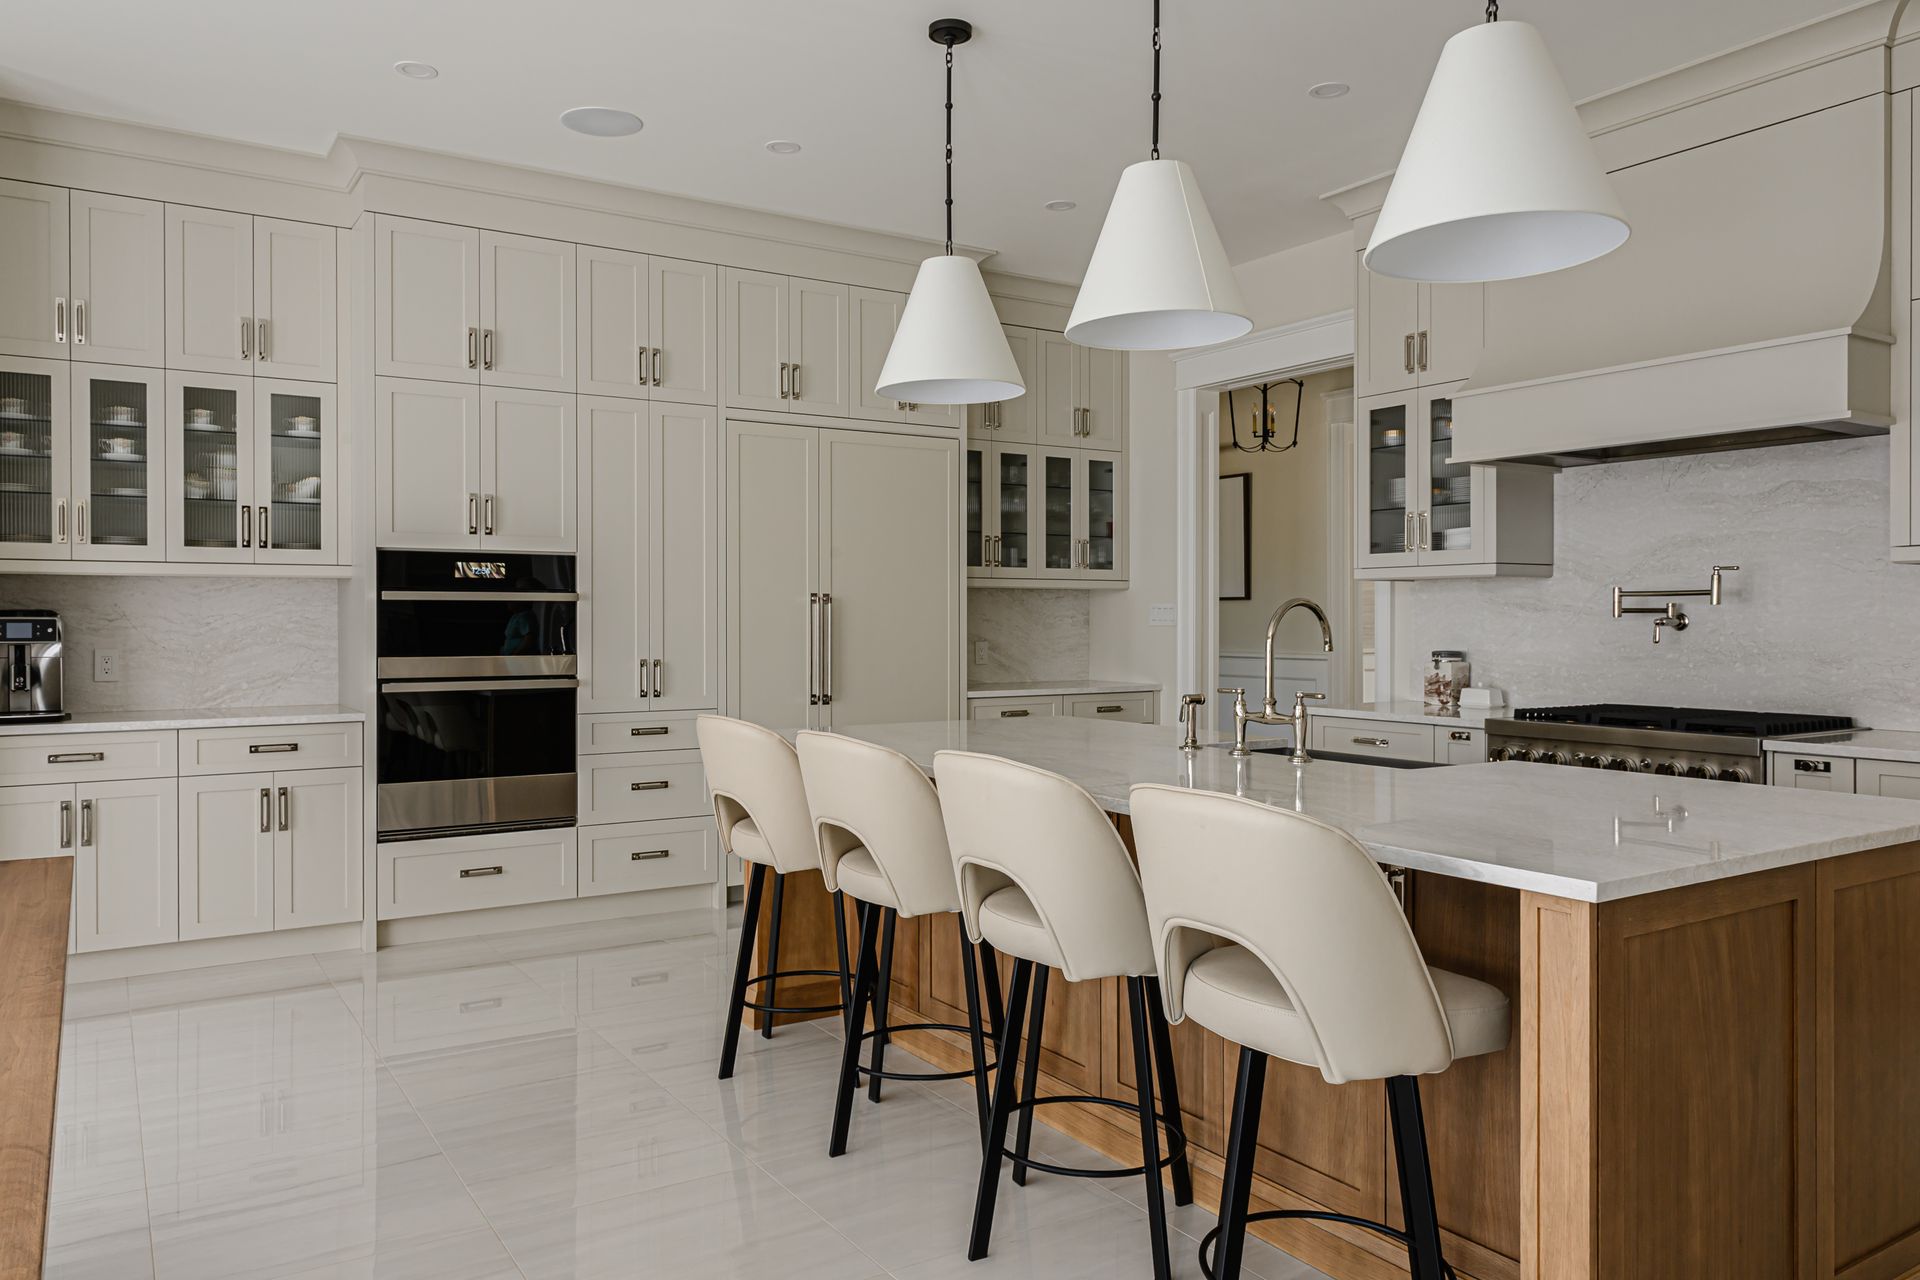
►Client Experience: Diana L shared "From start to finish, the entire Rocpal team provided superb services. The designer specialist was able to understand the look we were trying to achieve and arrived with the perfect kitchen design."
Understanding exactly what our clients want and executing it perfectly is why Diana highly recommends our services.
Tip 4: Communicate Your Lifestyle Needs
Your new space must function seamlessly around the way your family actually lives. Explaining your daily routine ensures the final layout is practical and highly ergonomic.
- List your pain points: Tell the designer exactly what frustrates you about your current setup so they can solve those specific issues.
- Detail your storage habits: Mention if you need deep drawers for heavy pots or specialized racks for baking sheets.
Frequently Asked Questions
What is the minimum walking clearance required between a kitchen island and perimeter cabinets?
Professional planners require a minimum of thirty six to forty two inches of walking space between opposite countertops. This clearance ensures that two people can pass each other comfortably and allows appliance doors to open fully without blocking traffic.
How do appliance door swings dictate the layout of custom millwork?
Dishwashers and refrigerators need significant space to swing open without hitting adjacent doors or walking paths. A skilled planner positions these large appliances at the ends of a work zone to keep the central cooking area clear and accessible.
Why is creating a dedicated prep zone critical for open concept floor plans?
A dedicated prep zone keeps the messy chopping and mixing tasks localized near the sink and trash pull out. This organization prevents cooking clutter from spreading across the entire room, which keeps the visible areas of an open concept space looking clean and inviting for guests.
Finalizing Your Design Journey
Arriving at your showroom meeting with measurements and a clear budget sets the stage for a spectacular home update. By sharing your inspiration and daily routines, you empower our experts to craft an environment that fits your life perfectly. Contact our office today to schedule your complimentary meeting and start exploring your options.